When I started this blog in late February I really didn't know what to expect. But about a month later I got 1000 views!!!! I really was amazed at the amount of people around the world looking at this blog. So I guess I just wanted to say thank you and I hope you like my future project and tutorials coming up. If you have any suggestions for me or questions, please leave a comment, I really like helping people.
 This layout is 15 long and 9 down
 I mark the size with a fine point sharpie. I went one row extra on each side for safety and other such thing


 I fix the edges by filling it down
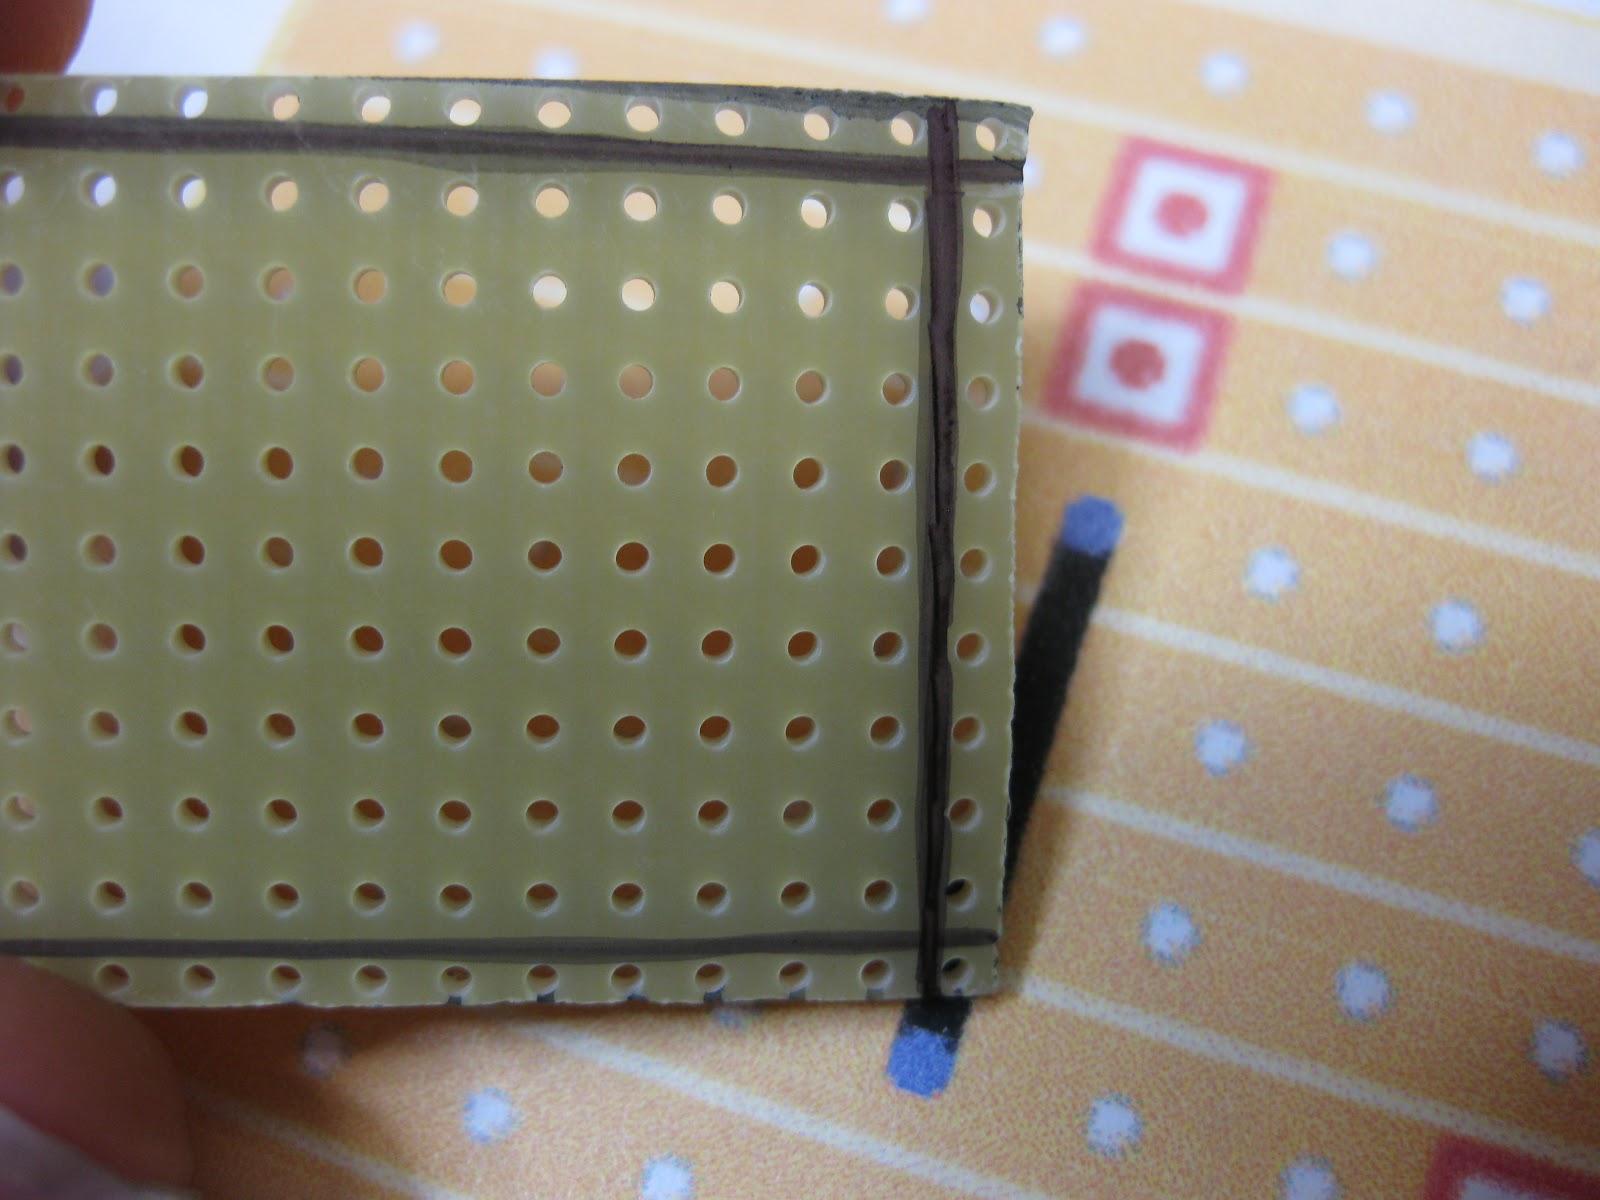
 I left one row on each side so I marked out the 15x11 layout with sharpie
 Then I circle around the holes that need to be cut
 Then I drilled the holes so no copper was touching. If you want a more in depth explanation of this step, I explained it in this post from the distortion plus build
 Before I soldered in the links I used my continuity tester to make sure the line was completely broken
 The tricking link of this build is the 2 link under the IC. All you need to do is find some thin component leads and put both of then in the solder

 Done with that
 I can say this for sure, practice does make you better. My soldering skills have gotten way better than last time

 As the last step, I use the continuity tester I built to check if all the links have a solid connection

I ordered parts for my next 3 projects to keep me occupied and I thought I would start off with the mighty Way Huge Red Llama!!! I picked this one first because it is the easiest (the least components on the board) out of the three. The parts haven't come in yet, they should come in this week, but I can still get started. So the first step is preparing the strip board for components. All I need to do is cut the board to size, drill the breaking points and solder the links. And now that I have my continuity tester, I can make sure everything is perfect so when the parts come in I can jump in head first and just get to soldering.
Here is the layout I will be using, I got this layout from http://tagboardeffects.blogspot.ca great site. It doesn't have too many components but it's supposed to be a legendary overdrive


Then I just cut away with a small hand saw
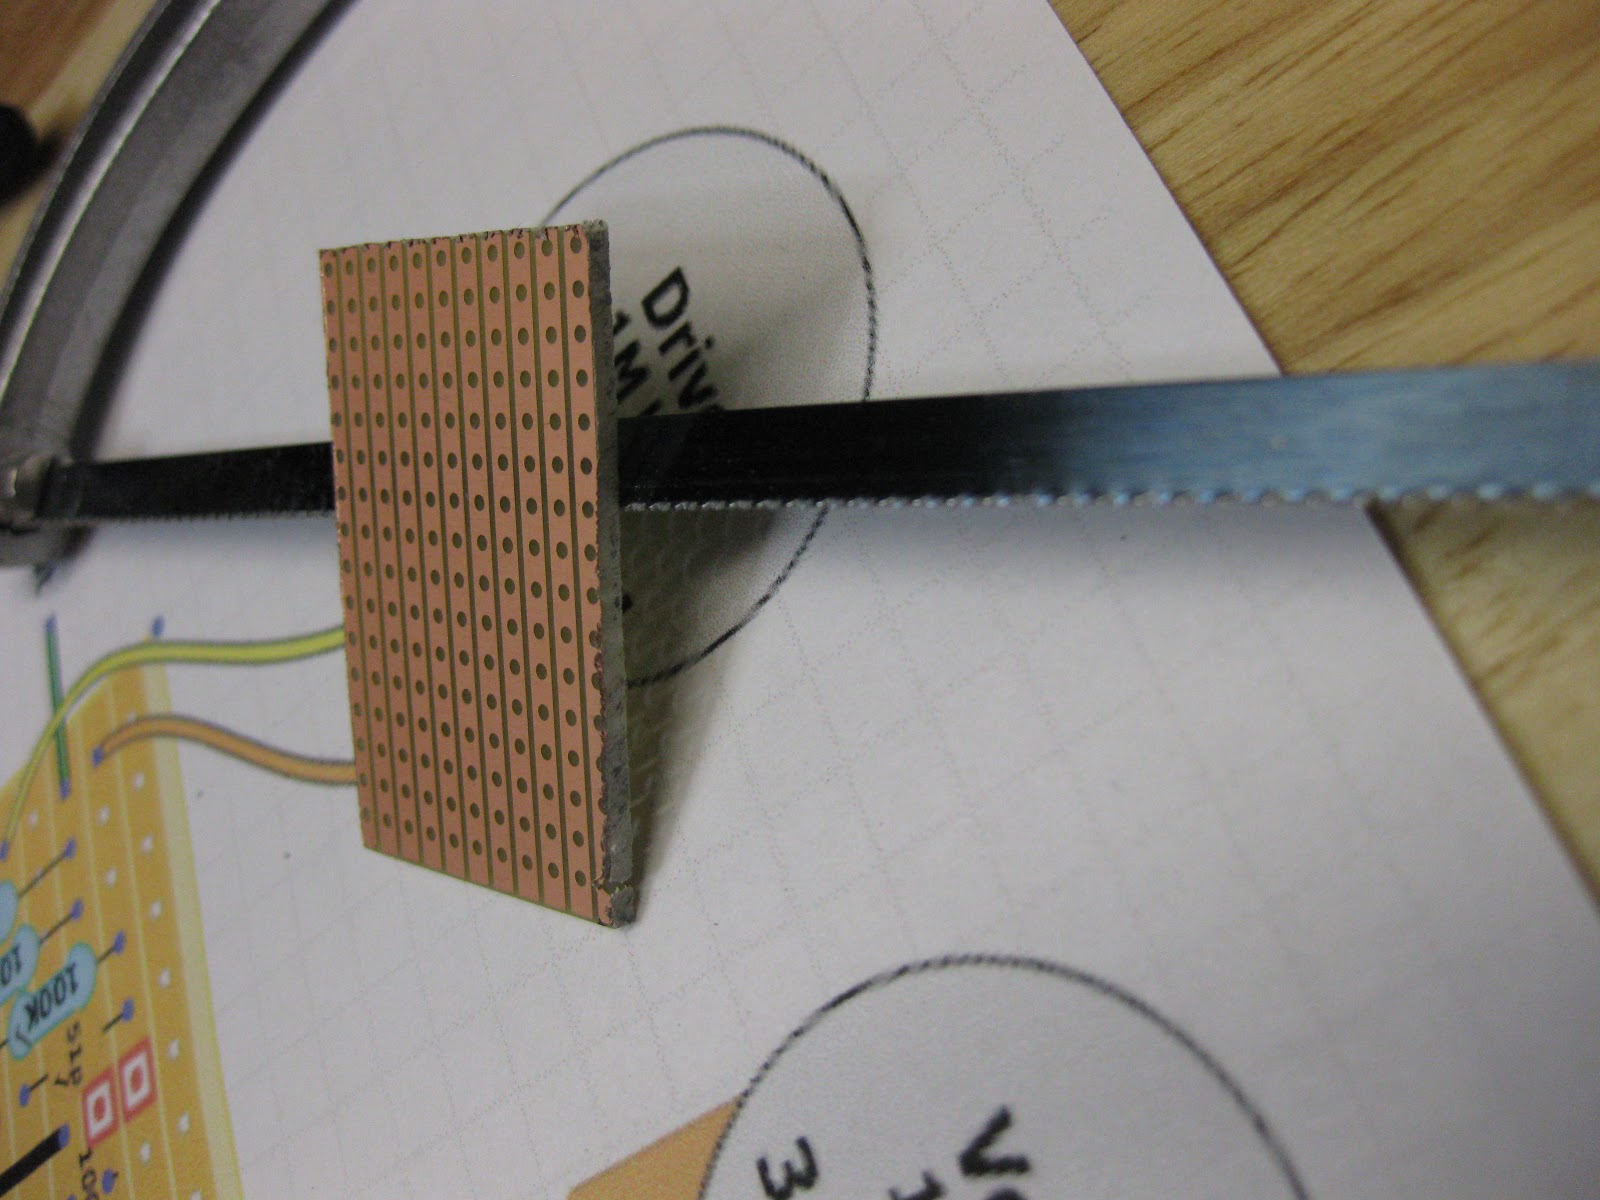
The saw leaves the edges very rough


I would strongly suggest using some kind of tester to check this step because if you mess something up at this point, nothing else will work later on. I triple check everything with the tester to make sure when I get the parts I can just jump right in!!!
If you have any questions, comment or concerns, please leave a comment in the comment section
No comments:
Post a Comment