Introduction:
My local music consignment store, Spaceman Music, hosts these garage sales a couple times a year. They usually try and get rid of overstock, half working, or just plain old guitars, pedals, amps, and studio equipment. These sorts of sales are absolute treasures for finding hidden gems such as this Moseley TFL-280 Audio Limiter. When I first picked this thing up, I had no idea if it worked, but it sure looked impressive. The thought of smashing a drum signal through an FM broadcasting unit got me excited and I made the purchase. Here is a picture of the insides:
My local music consignment store, Spaceman Music, hosts these garage sales a couple times a year. They usually try and get rid of overstock, half working, or just plain old guitars, pedals, amps, and studio equipment. These sorts of sales are absolute treasures for finding hidden gems such as this Moseley TFL-280 Audio Limiter. When I first picked this thing up, I had no idea if it worked, but it sure looked impressive. The thought of smashing a drum signal through an FM broadcasting unit got me excited and I made the purchase. Here is a picture of the insides:

I quickly searched for the manual and found a copy at this website here. Cited is a description of the circuit: “Audio limiting as used in broadcast transmission, is used to apply a definite ceiling to the level of modulation. By allowing the limiter to be active or to work an appreciable portion of the time, an increase in the received signal volume may be achieved.” If you are familiar with how compressors and limiters work, this is no different. The amplitude peaks are attenuated so the overall volume of the audio can be raised.
As with older audio equipment, input transformers are used in the signal path. If you’ve spent enough time around audio engineering forums, you know that the “transformer tone” is caught after and desirable.
The attack time is fixed at 50 microseconds, which is considerably fast and great for heavy compression. The limiting knob lowers the threshold of the detection circuitry. The recovery knob is the same as a release knob on a standard compressor, setting the time the unit takes to return to 0 dB of gain reduction.
I tested the unit by sending a line level input. The pre-emphasis and de-emphasis switches were great at changing the overall equalization of the output signal. The pre-emphasis boosted the high end considerably while the de-emphasis decreased the high end. These switchable filters in the signal path are used by FM broadcasters to make increase intelligibility of the modulated signal. When limiting the audio signal quite hard, a lot of high end would be brought out by the limiting. By switching in the de-emphasis, these were tamed and would give as more natural response. Needless to say, it was a shame these switches were on the rear of the unit. Luckily we know how to solder and it’s a simple modification!
Modifications:
There were two modifications that I needed to see through for this unit to be usable in a home-studio setting.
There were two modifications that I needed to see through for this unit to be usable in a home-studio setting.
- 1/4 inch jacks as the inputs and outputs instead of the screw terminal blocks
- Move those pre-emphasis and de-emphasis switches to the front panel so I could change them on the fly.
 |
| I/O screw terminals. |
 |
| Switches I want to move to the front planel. |
 |
| Switches on the back panel with their cable shielding fixed to enclosure. |
 |
| Photo showing the beautiful cable management, zip-tied and routed around the PBC. |
There are three switches on the back plate, but I only want to move two of them. The noise reduction switch deals with switching in an external noise reduction unit, which I don't have and have no use for. The cabling going to the switches are nice and tidy, grouped together with zip ties. I don't desire to splice and re-solder the wires to the right length. As shown later on, I'll just be bending them neatly so they are out of the way.
Luckily, there is a lot of free real estate on the front panel where it's only natural to have those pre and de-emphasis switches. The wires going to these switches are shielded and the shielding is connected to the enclosure with a simple screw and nut. I had to drill a hole in the bottom plate to fit this enclosure ground terminal.
 |
| Photo of inside of front panel showing good free real estate for switches. |
 |
| Switches mounted to front panel with ground shielding still unconnected. |
 |
| Extra hole drill on bottom of enclosure to secure screw ground terminal. |
 |
| Cable neatly bent with blue zip ties being the ones I added. |
 |
| Photo of front panel with newly moved switches. |
All the blue zip ties are the ones that I've added to make the wiring nice and neat. I wanted to avoid having them rest on any components or but any unwanted stain of those flimsy tantalum capacitors, for example.
All in all, moving the switches was fairly easy. You just have to make sure you solder back any connection you had to de-solder when moving to the new location.
All in all, moving the switches was fairly easy. You just have to make sure you solder back any connection you had to de-solder when moving to the new location.
Next up was connecting the input and output jacks. Since this unit was going to be mainly used as a channel insert, with my set-up, I only need unbalanced connections. I decided to use the two newly vacant holes where the switches were and enlarge them to fir the 1/4inch jacks. Then it was as simple as soldering the jacks to the block terminal in parallel. This way I can use both the screw terminal and jacks if need be. I still wanted the signal to go through those input inductors for the added filtering, so I made sure to solder the jacks as if I was connecting the input and output cables from the outside.
 |
| Photo of behind the screw terminal with filter inductors in series with connections. |
 |
| Used vacant holes from switches to place I/O 1/4inch jacks. |
 |
| Routed jack connections to back of the screw terminal and soldered in place. |
 |
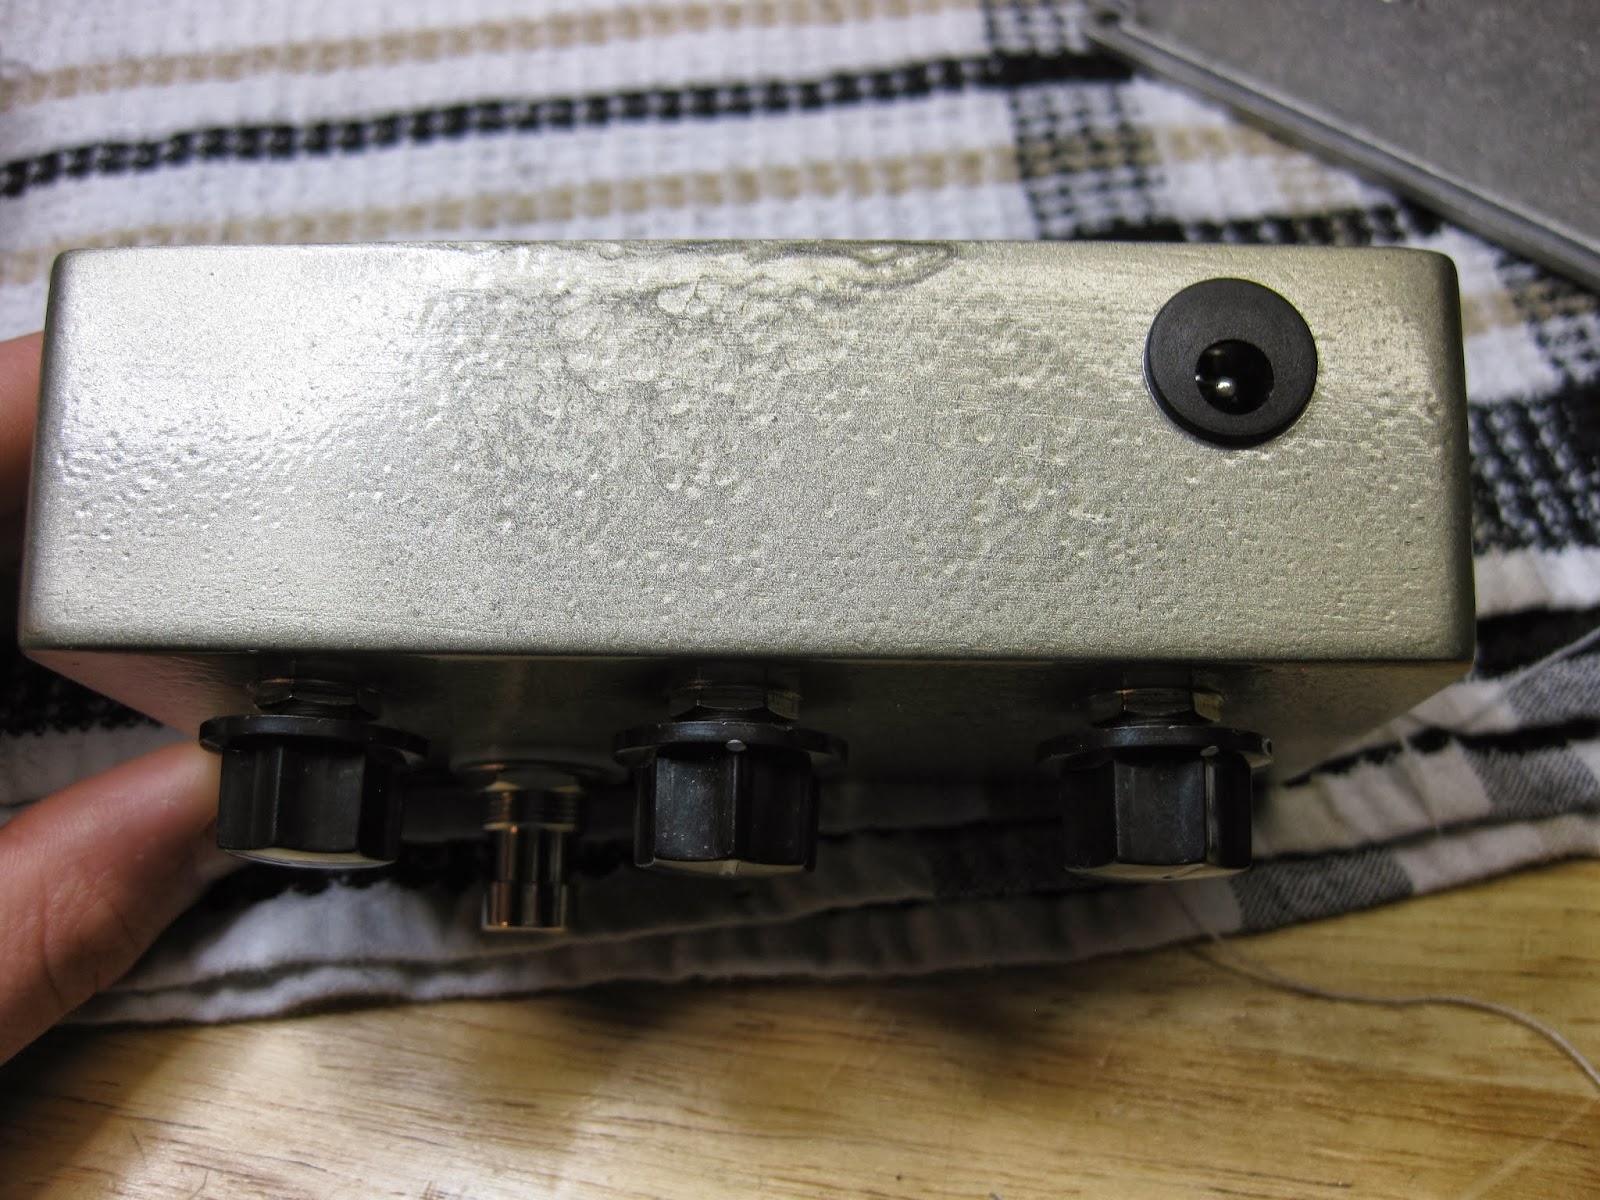
| Photo of input and output jacks on back plate. |
Important note: this unit has a balanced input, hot, cold, and ground, but I wanted to send and unbalanced signal to it. I tested two configurations with different noise results:
- (Tip) --> hot
- Ground (Sleeve) --> cold and ground
- This configuration had significant 60 Hz hum!
and
- Signal (Tip) --> hot
- Ground (Sleeve) --> cold
- Hum eliminated!
By sending the single ended signal into the differential input (hot and cold) of the limiter's input, I got a nice and clean sound with no added hum. To make this possible I need to isolate the sleeve from the 1/4inch jacks from the metal of the enclosure. This was done using heat think tubing around the shaft of the 1/4inch jack where it would be touching the enclosure. Furthermore, I used rubber washers before and after the enclosure so none of the metal from the jack is touching the enclosure in any way. I of course used a multimeter to ensure this isolation was stable.
Important note 2: Since I was using unbalanced inputs and outputs, I hooked up the unit to a scope and ensured that I was getting the right polarity between the input and output. The last thing I would need is to have the output be 180 degrees out of phases with the input signal.
But How Does it Sound?
Preliminary tests with this limiter confirm it to be an absolute UNIT. The attack time is incredibly fast, perhaps faster than you would normally want, but it adds something nice. The recovery knob is really essential to adjust from situations to situation. I've tried it on drums and vocals. Really great at smashing drum bus or room mic. On vocals, it can really push the sound right up front.
As for the switches, the pre-emphasis ads this incredible sparkle to the sound and just lifts up the presence of any signal I put through it. When you start to really compress a drums signal hard, the cymbals really start to get a bit much with this unit. The de-emphasis control takes that down and brings it down to a more usable sound. Although counter intuitive, when I engage both the pre-emphasis and the de-emphasis, there is a nice mid range bump happening somewhere. Moving these switches to the front means I can easily switch between a more bright or dark sound and see if it works with the track.
I'm thinking of posting some audio examples sometime soon, stay tuned!